By Imran M ·
· 6 min read
By Imran M ·
· 6 min read
OneTrust DSAR Automation: Setup and Best Practices
Set up OneTrust Privacy Rights Automation: workflows, jurisdiction web forms, verification, TDD, Privacy Portal, resolution codes, and a go-live checklist.
- Order: Build and activate a custom workflow before you publish the web form that points at it.
- Forms: Use jurisdiction templates (GDPR, CCPA, and others) so verification and SLAs stay proportionate.
- Verification: Prefer email or account auth; keep CCPA opt-out light; escalate documents only for high-risk deletion.
- Discovery: Connect TDD system subtasks and add manual steps for backups and unconnected stores.
- Go-live: Portal delivery, resolution codes, region links, and tabletop drills for access, deletion, and failed verification.
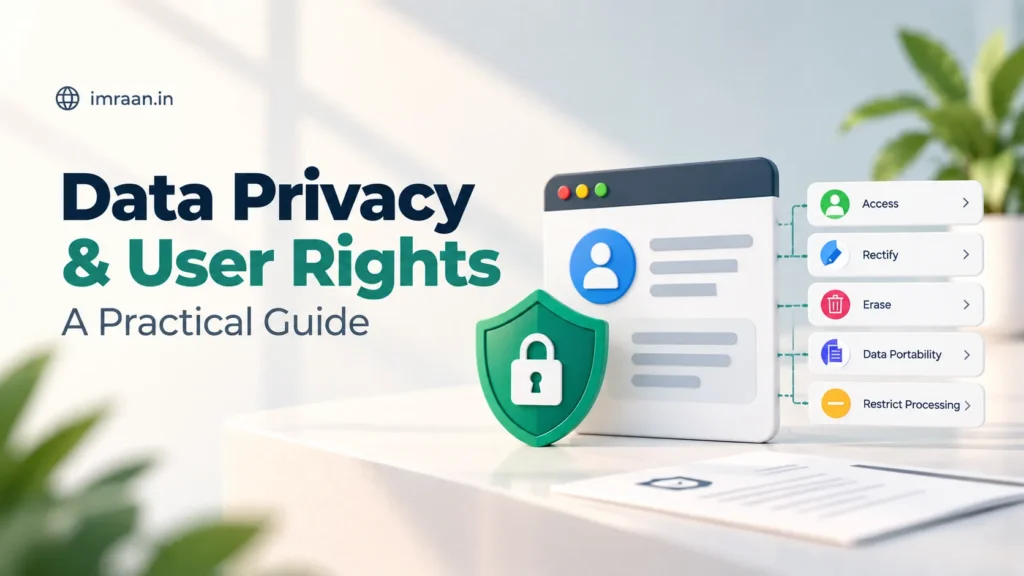
OneTrust Privacy Rights Automation (often called DSAR or DSR automation) is the module that intakes consumer and data subject requests, verifies identity, runs workflows, discovers or deletes data, and returns a secure response. This guide is a setup and best-practices checklist for going live. For request-type fulfilment patterns (access, correction, erasure), see the companion How to Handle DSARs with OneTrust: Access, Correction, and Erasure. For how those types map to law, see GDPR vs DPDP and DPDP Act User Rights, plus the global matrix in CCPA vs GDPR vs DPDP: User Rights for Global Websites.
Screens and labels change across OneTrust releases. Confirm steps in your tenant. Public OneTrust documentation covers web forms, verification, workflows, Targeted Data Discovery (TDD), the Privacy Portal, resolution codes, and DSR APIs.
What you are configuring
OneTrust describes Privacy Rights Automation as covering intake, identity verification, data discovery, deletion, redaction, and secure response. The objects you will set up first are:
- Web forms (jurisdiction templates for GDPR, CCPA, and others)
- Workflows (stages and subtasks; Unverified, New, Complete retained)
- Verification methods (email, phone, OIDC account auth, third-party ID)
- Integrations / TDD system subtasks
- Privacy Portal messaging and attachment rules
- Resolution codes and reporting
Step 1: Create the fulfilment workflow before the form
- Go to Privacy Rights Automation > Setup > Workflows.
- Create a new workflow from a default or existing template. Default workflows cannot be edited in place; clone first (OneTrust docs on adding and customising workflows).
- Keep Unverified, New, and Complete. Add middle stages such as Discovery, Legal review, Redaction, and Respond.
- Add user subtasks (CRM owner, support, legal) and system subtasks (TDD connectors).
- Set deadline calculation. If the web form uses verification, configure the Unverified stage and decide whether the deadline starts there (OneTrust: Configuring the Unverified Workflow Stage). Reactivate existing workflows so Unverified appears.
- Activate the workflow.
Whenever you edit a workflow already tied to a form, reactivate it so new submissions use the published version.
Step 2: Create jurisdiction web forms
- Privacy Rights Automation > Setup > Web Forms > Create web form.
- Start from a seeded template for GDPR, CCPA, LGPD, or another jurisdiction (OneTrust: Creating a Web Form).
- Name the form, set the managing organisation, and assign the fulfilment workflow.
- Customise fields: “I am a(n)”, request type(s), email, identifiers, free text. Mark fields used for identity verification where appropriate (OneTrust: Customizing a Web Form).
- Brand the form and add CAPTCHA / attachment options your licence supports.
- Publish the form URL from your privacy policy and rights page.
Run separate forms or request-type rules for California opt-out versus EU access versus India Section 11 summary so verification and SLAs stay proportionate.
Step 3: Turn on verification the right way
On the form Verification tab you can enable email authentication, phone verification, OIDC account authentication, and third-party ID verification (OneTrust: Enabling Web Form Verification Settings; OIDC Authorization Code for Web Forms).
Best practices
- Prefer proving control of the email or account already on file.
- Use OIDC so logged-in customers pre-fill trusted claims.
- Escalate to document or third-party ID only for high-risk access or deletion.
- For CCPA opt-out, OneTrust notes that over-verifying (for example forcing email confirmation as a second factor) can be problematic in some jurisdictions; keep opt-out light.
- Document which rule fires for which request type when multiple methods are enabled (OneTrust: methods can be enabled together but need rules if all three of email, phone, and third-party ID are on).
Step 4: Connect discovery and deletion
- Inventory systems that hold personal data.
- Add TDD or integration system subtasks so connected apps return or delete data into the request (OneTrust best practices on Targeted Data Discovery).
- Add manual discovery subtasks for offline or unconnected stores.
- Require redaction review before portal release when packs may contain other people’s data.
A green system subtask does not mean backups are clean. Encode backup and warehouse steps as explicit subtasks.
Step 5: Secure response and the Privacy Portal
- Deliver packages through OneTrust secure messaging / Privacy Portal rather than open email attachments when the payload includes personal data.
- Use automated public comments on stage changes so requesters see progress (supported on stages other than Unverified, per OneTrust Unverified-stage notes).
- Train agents never to paste personal data into ordinary email tickets.
Step 6: Resolution codes, SLAs, and audit
- Create resolution codes that match outcomes: completed access, corrected, erased, partial retain, identity failed, withdrawn, denied.
- Align deadlines to law: CCPA often 45 days (extendable once with notice); GDPR commonly one month; DPDP grievance publish period at most 90 days under Rule 14(3).
- Use request audit history (product UI and Get Request Audit History API) when auditors ask who approved a deletion.
- Report weekly on aging requests by jurisdiction and stage.
Best-practice operating model
- RACI: privacy owns intake and portal; system owners own subtasks; legal owns denials and retention exceptions.
- Tabletops: run access, deletion with legal hold, CCPA opt-out, and failed verification before go-live.
- India runway: add DPDP request types and Section 11 summary templates before 13 May 2027 even if EU/US forms are already live.
- No dark patterns on intake: clear request types, no pre-checked extra processing, mobile-usable forms.
- Vendor fan-out: track processor tickets for CCPA deletion notices and DPDP Section 6(6) / 8(7) cessation.
Go-live checklist
- Workflow activated and assigned to each live form.
- Verification rules tested for access, deletion, and opt-out separately.
- At least one TDD or manual discovery path works end to end.
- Portal delivery tested with a non-production subject.
- Privacy policy links resolve to the correct form per region.
- On-call roster and escalation for approaching deadlines.
- Resolution codes and dashboards reviewed by privacy leadership.
Sources
- OneTrust, Privacy Rights Automation Overview; Best Practices: Managing Data Subject Rights and Requests (MyOneTrust).
- OneTrust, Creating a Web Form; Customizing a Web Form; Enabling Web Form Verification Settings; Configuring the Unverified Workflow Stage; Adding and Deleting Workflows; Customizing a Workflow.
- OneTrust developer portal, Privacy Automation DSR APIs (request audit history, resolutions): Get Request Audit History.
- Cal. Civ. Code sections 1798.105, 1798.110, 1798.120, 1798.130; GDPR Articles 12, 15 to 17; DPDP Act Sections 11 to 14; DPDP Rules 2025 Rule 14; MeitY G.S.R. 843(E).
Disclaimer
This article was prepared by Imran using publicly available information. It is for general education only and is not legal advice. Do not rely on it alone when implementing cookie compliance, DSAR handling, consent flows, privacy policies, or other privacy and data-protection controls. Consult your own legal counsel for advice that fits your business, jurisdictions, and systems.
Last updated on 13 September 2026
Share this:

Related articles
CCPA vs GDPR vs DPDP: User Rights for Global Websites
Map CCPA, GDPR, and DPDP Act user rights for global websites: access, delete, correct, opt-out versus consent withdrawal,…
Consent Withdrawal Under DPDP and GDPR: What Websites Must Support
What websites must build for consent withdrawal under DPDP Section 6 and GDPR Article 7: comparable ease, cease-processing…
Data Privacy Compliance Checklist for Indian Businesses
Actionable DPDP Act checklist for Indian businesses: notices, consent, rights, security, breach response, vendors, and a 90-day plan…