12/02/2024
By Imran M
By Imran M
Spring Boot has transformed how developers design REST APIs in Java, offering a robust foundation for building scalable, maintainable, and integrable services—whether for microservices or full-scale web applications. By automating configuration and reducing boilerplate code, Spring Boot accelerates development while maintaining flexibility. REST APIs serve as the core of modern software, enabling seamless communication across systems, from mobile applications to distributed microservices architectures. Spring Boot’s simplicity and powerful ecosystem have solidified its position as a go-to framework for crafting efficient APIs. Here, you’ll learn to build and deploy Spring Boot REST API effectively. We’ll walk through end-to-end implementation, covering project setup, best practices and deployment strategies.
REST is an architectural style for building web services. It relies on a stateless client-server communication protocol, typically HTTP. Key principles of REST include:
Client-Server Architecture: Clients (e.g., web browsers, mobile apps) request resources from a server.
Statelessness: Each request from a client to the server must contain all the information necessary to understand and process the request. The server doesn’t store any client context between requests.
Cacheability: Responses can be cached to improve performance.
Uniform Interface: A consistent way of interacting with resources using HTTP methods (GET, POST, PUT, DELETE), resource identifiers (URLs), and representations (e.g., JSON, XML).
Layered System: The architecture can have multiple layers (e.g., load balancers, proxies) without affecting the client interface.
HTTP methods play a crucial role in REST APIs:
GET: Retrieves a resource.
POST: Creates a new resource.
PUT: Updates an existing resource.
DELETE: Deletes a resource.
A well-structured Spring Boot REST API consists of several crucial layers:
Controllers Layer
Service Layer
Repository Layer
Model Layer
Adopting REST for microservices brings several advantages, including simplicity, scalability, and flexibility. With REST, there is a clear separation of concerns and a stateless architecture, making it easier to manage and maintain. Additionally, each service can scale independently, allowing for more efficient resource allocation. REST also offers flexibility by easily integrating with other web services and applications, enabling seamless communication across systems.
Auto-Configuration: Spring Boot automatically configures many beans and dependencies, reducing boilerplate code.
Embedded Servers: Spring Boot comes with embedded servers (Tomcat, Jetty, Undertow), making deployment easier.
Spring MVC Integration: Spring MVC simplifies handling HTTP requests and responses, routing, and data binding.
REST Controller Support: Spring Boot provides annotations like @RestController to easily create RESTful controllers.
Dependency Injection: Spring’s dependency injection makes your code more modular and testable.
Ensure you have the following tools installed:
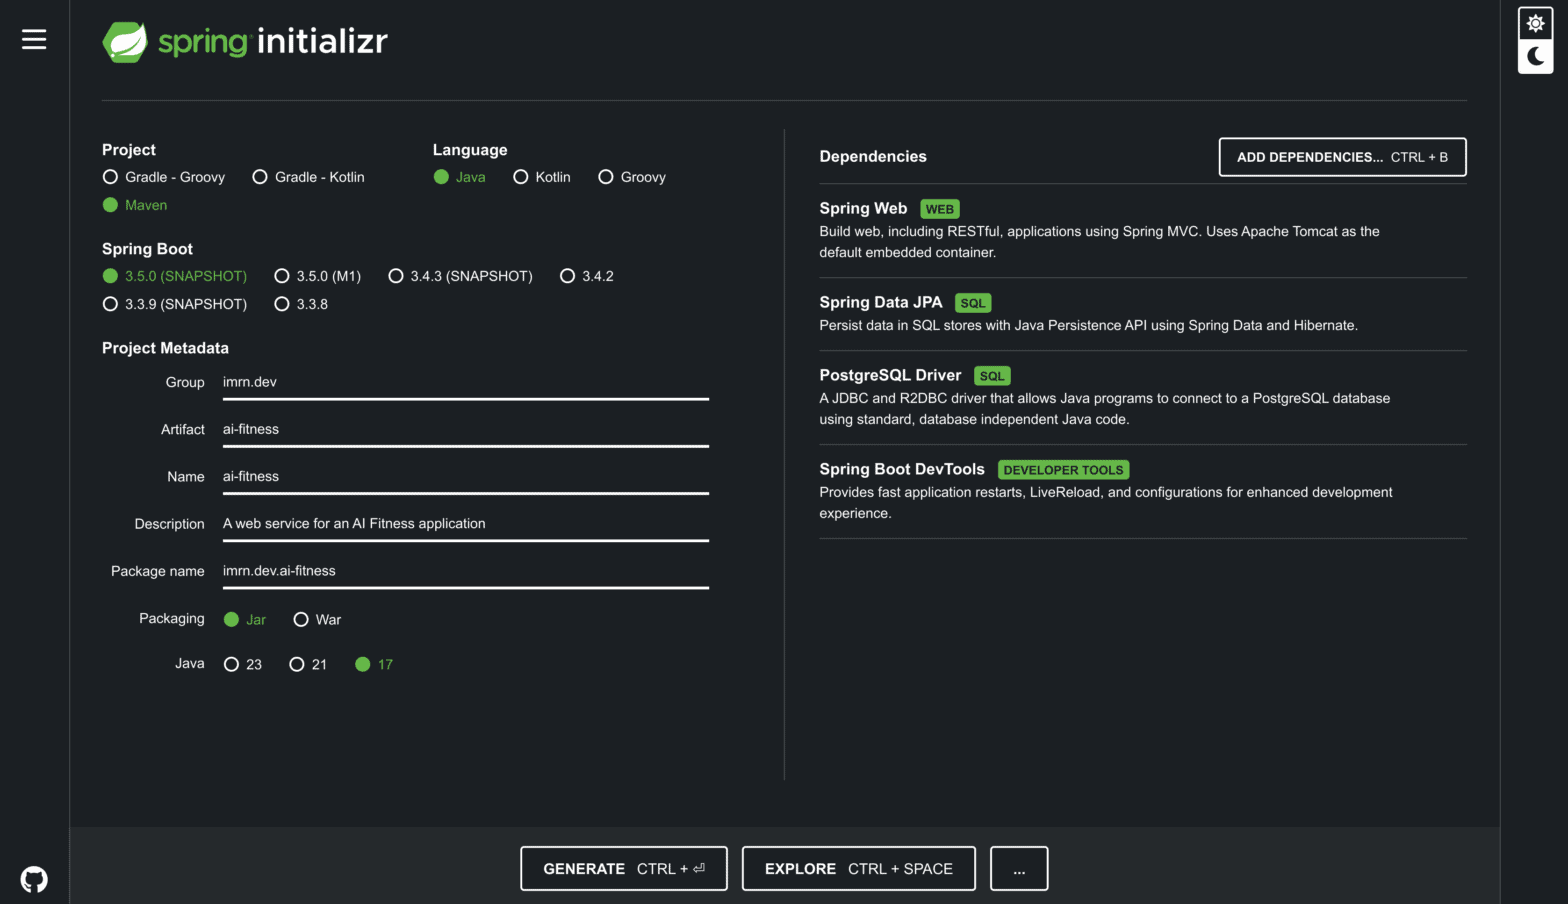
Let’s create a new Spring Boot project using Spring Initializr and add the necessary dependencies:
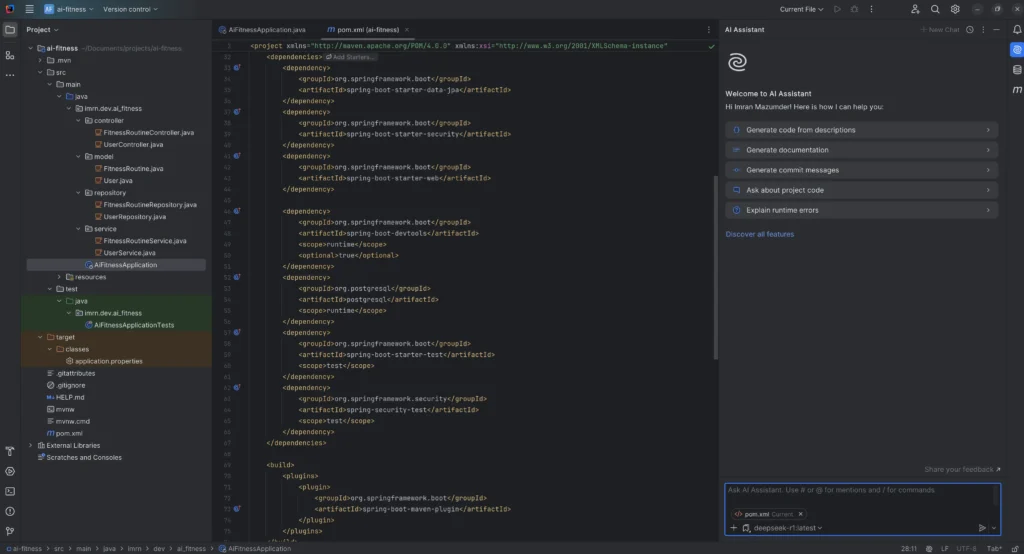
Now that we have the project structure sorted for our preliminary phase, we can code up the controllers, services, models, repositories and have our web service up and running. In the next article, we ll go through building the end points in details with all the codes.
Proper Error Handling: Implement robust error handling to provide meaningful error responses to clients.
Input Validation: Validate user input to prevent security vulnerabilities and data inconsistencies.
API Documentation: Use tools like Swagger or Springdoc OpenAPI to generate API documentation.
Versioning: Version your API to handle changes without breaking existing clients.
Security: Secure your API using authentication and authorization mechanisms.
This foundation will serve as a crucial reference as you move forward with implementing your Spring Boot REST APIs. In our next article we ‘ll build a Spring boot REST API with Maven and Postgres. Stay tuned!
You now have a practical foundation for developing and deploying Spring Boot REST APIs. Experiment with different features, keep refining your code and stay updated with the latest best practices in the Java ecosystem. Happy coding!
